Introduction
When your hydraulic system shows overpressure, pressure loss, chatter, or abnormal heat, don’t rush to replace the soupape de sûreté. In real machines, most issues come from wrong settings, contamination, return-line back pressure, air ingestion, or measurement errors—not catastrophic valve failure.
This guide complements the adjustment procedure in Comment régler un clapet de décharge hydraulique ? and helps you determine whether adjustment is actually the correct fix.
About This Guide: Written by hydraulic engineers with 15+ years of field experience in industrial and mobile equipment. Safety principles are aligned with ISO 4414, and test concepts follow widely used relief valve verification practices.
🔧 Key Takeaways
- Most “relief valve failures” are fixable: setting error, contamination, wear, or return-line restrictions.
- Diagnose at the right test point: a gauge far from the valve can mislead you.
- Heat means energy loss: a hot relief valve often indicates continuous bypass flow.
- Stability matters: chatter usually points to back pressure, air, pilot restriction, or pulsation.
30-Second Quick Triage (Start Here)
👉 If incorrect pressure setting is suspected, follow the safe procedure in How to Adjust a Pressure Relief Valve before replacing components.

1) Pressure exceeds set point
→ Verify gauge location (near relief inlet) + gauge accuracy → then suspect sticking/contamination.
2) Cannot reach or maintain pressure
→ Run an isolation / leakage check to confirm whether the valve is bypassing.
3) Chatter / squeal / needle oscillation
→ Check tank line restrictions/back pressure, air ingestion, and (pilot valves) pilot orifice condition.
4) Excessive heat
→ Confirm continuous relieving (bypass flow to tank under load/idle) and fix the cause.
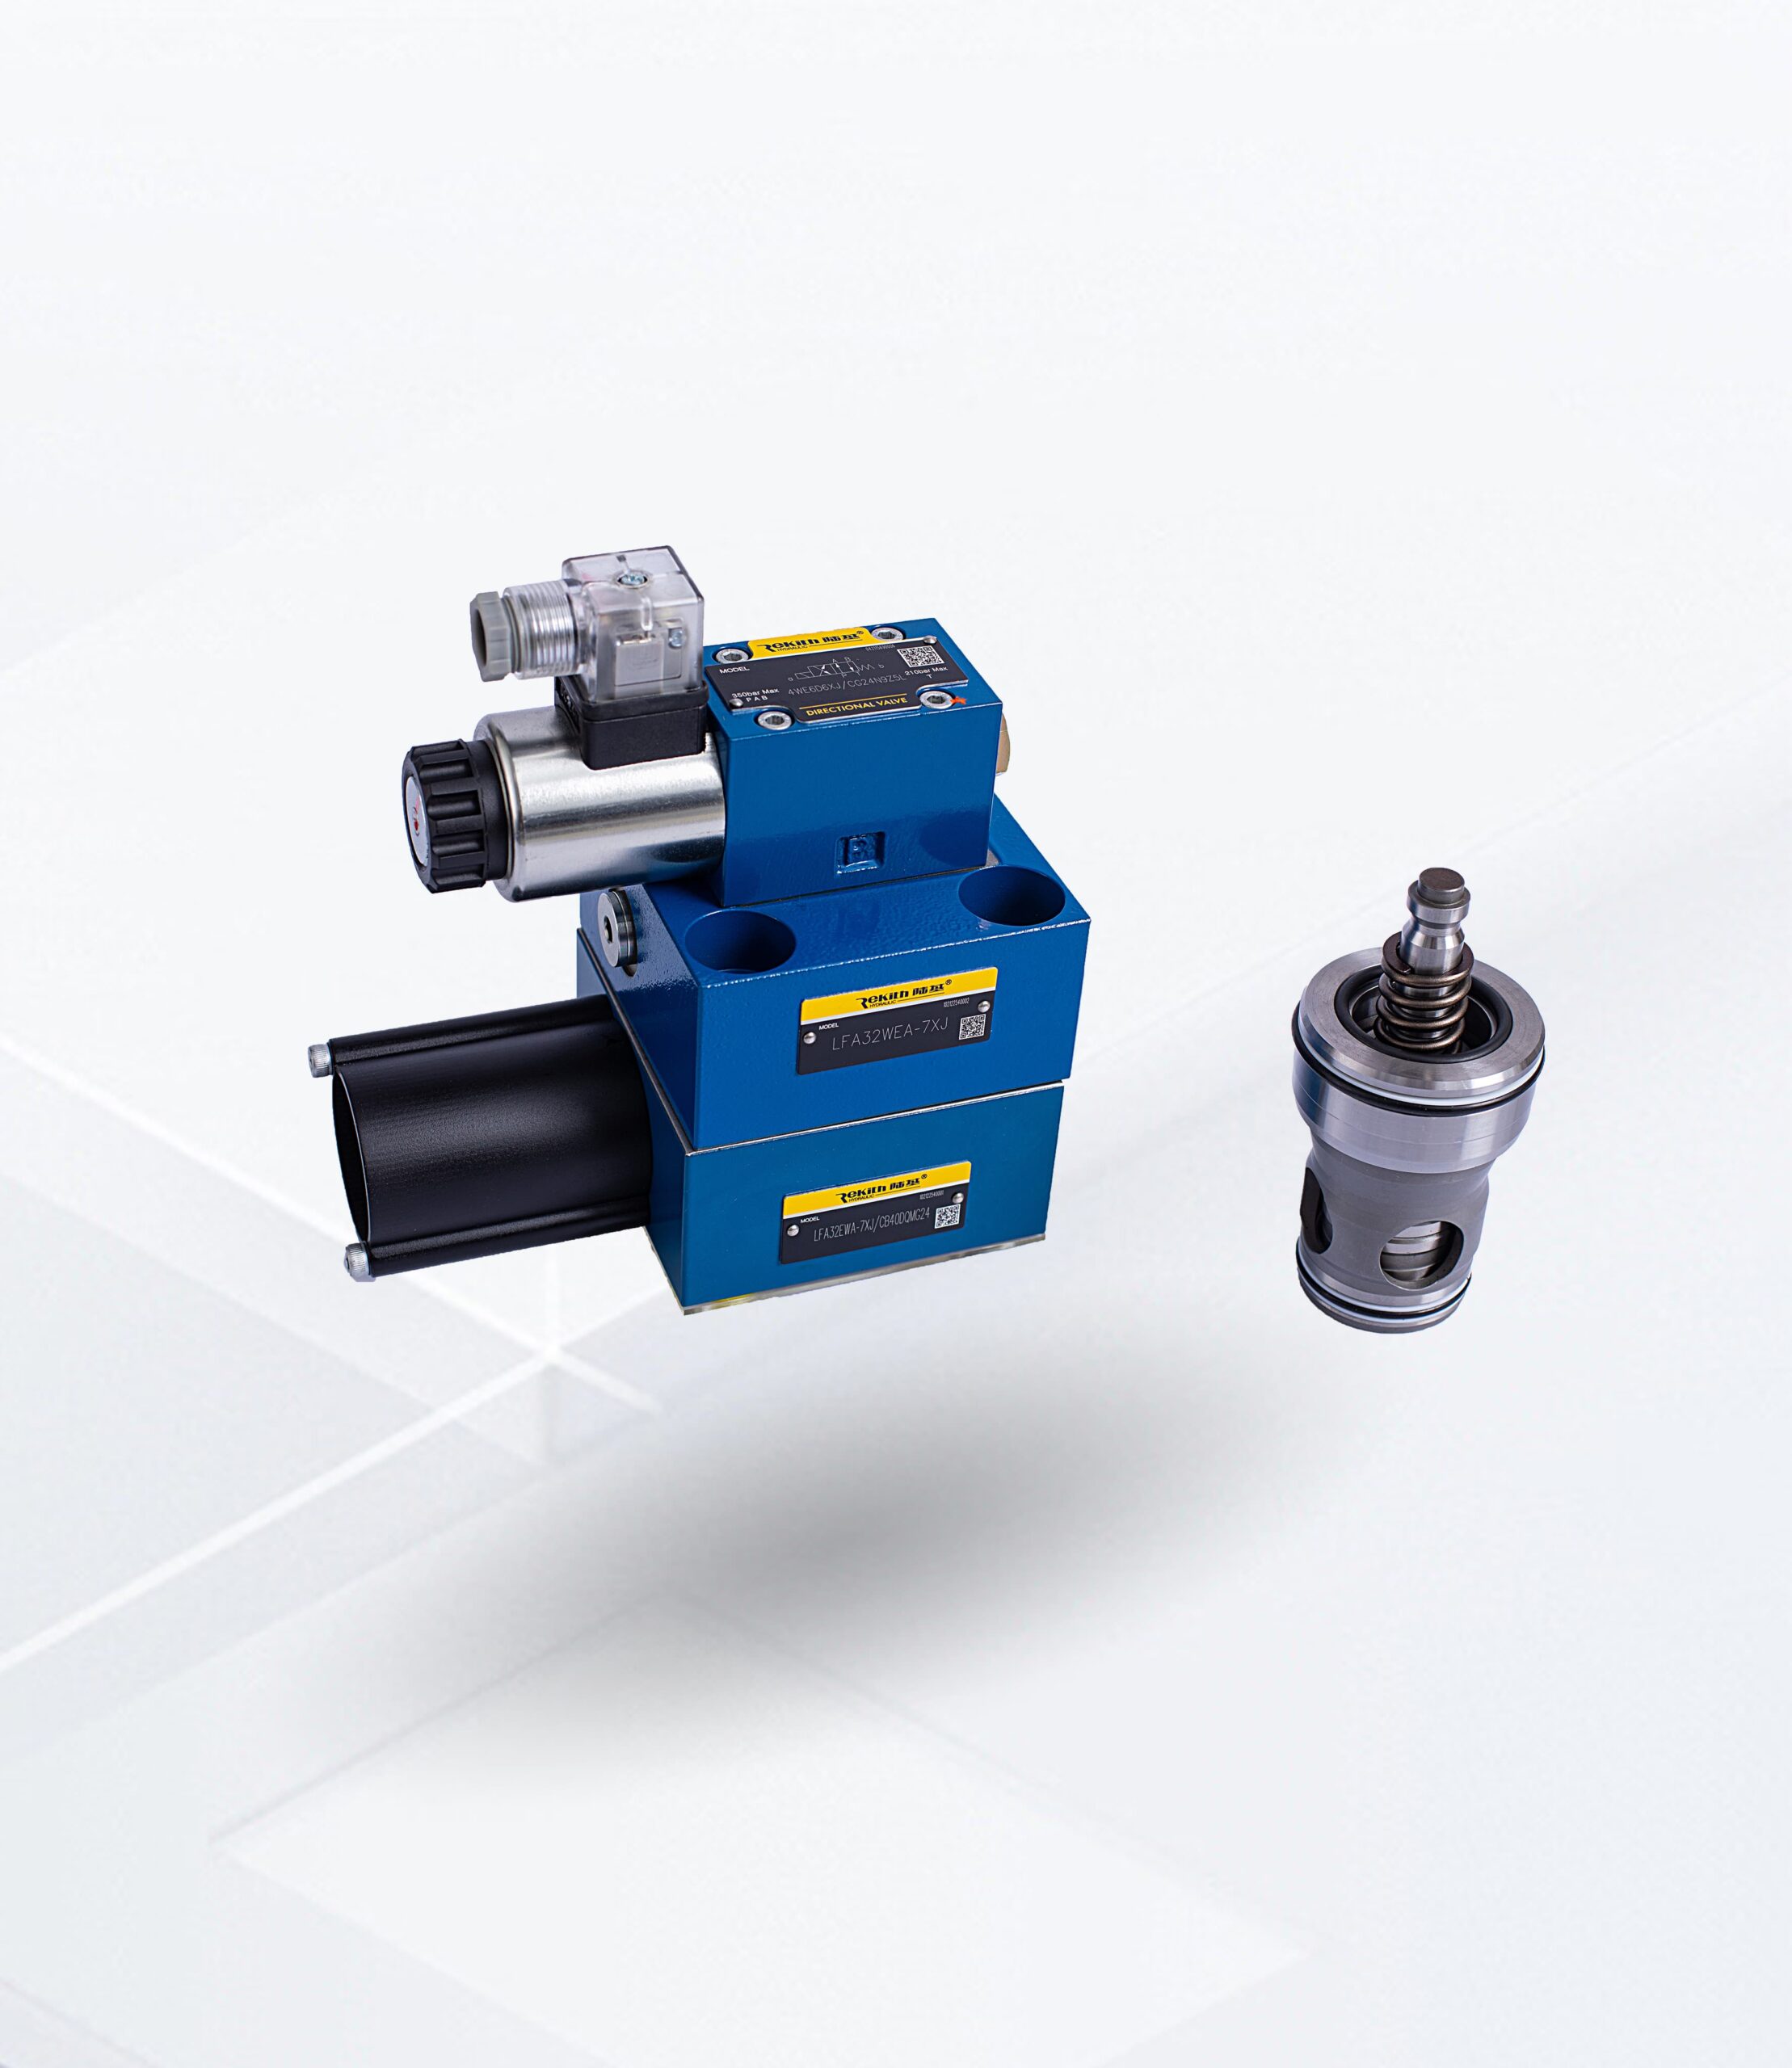
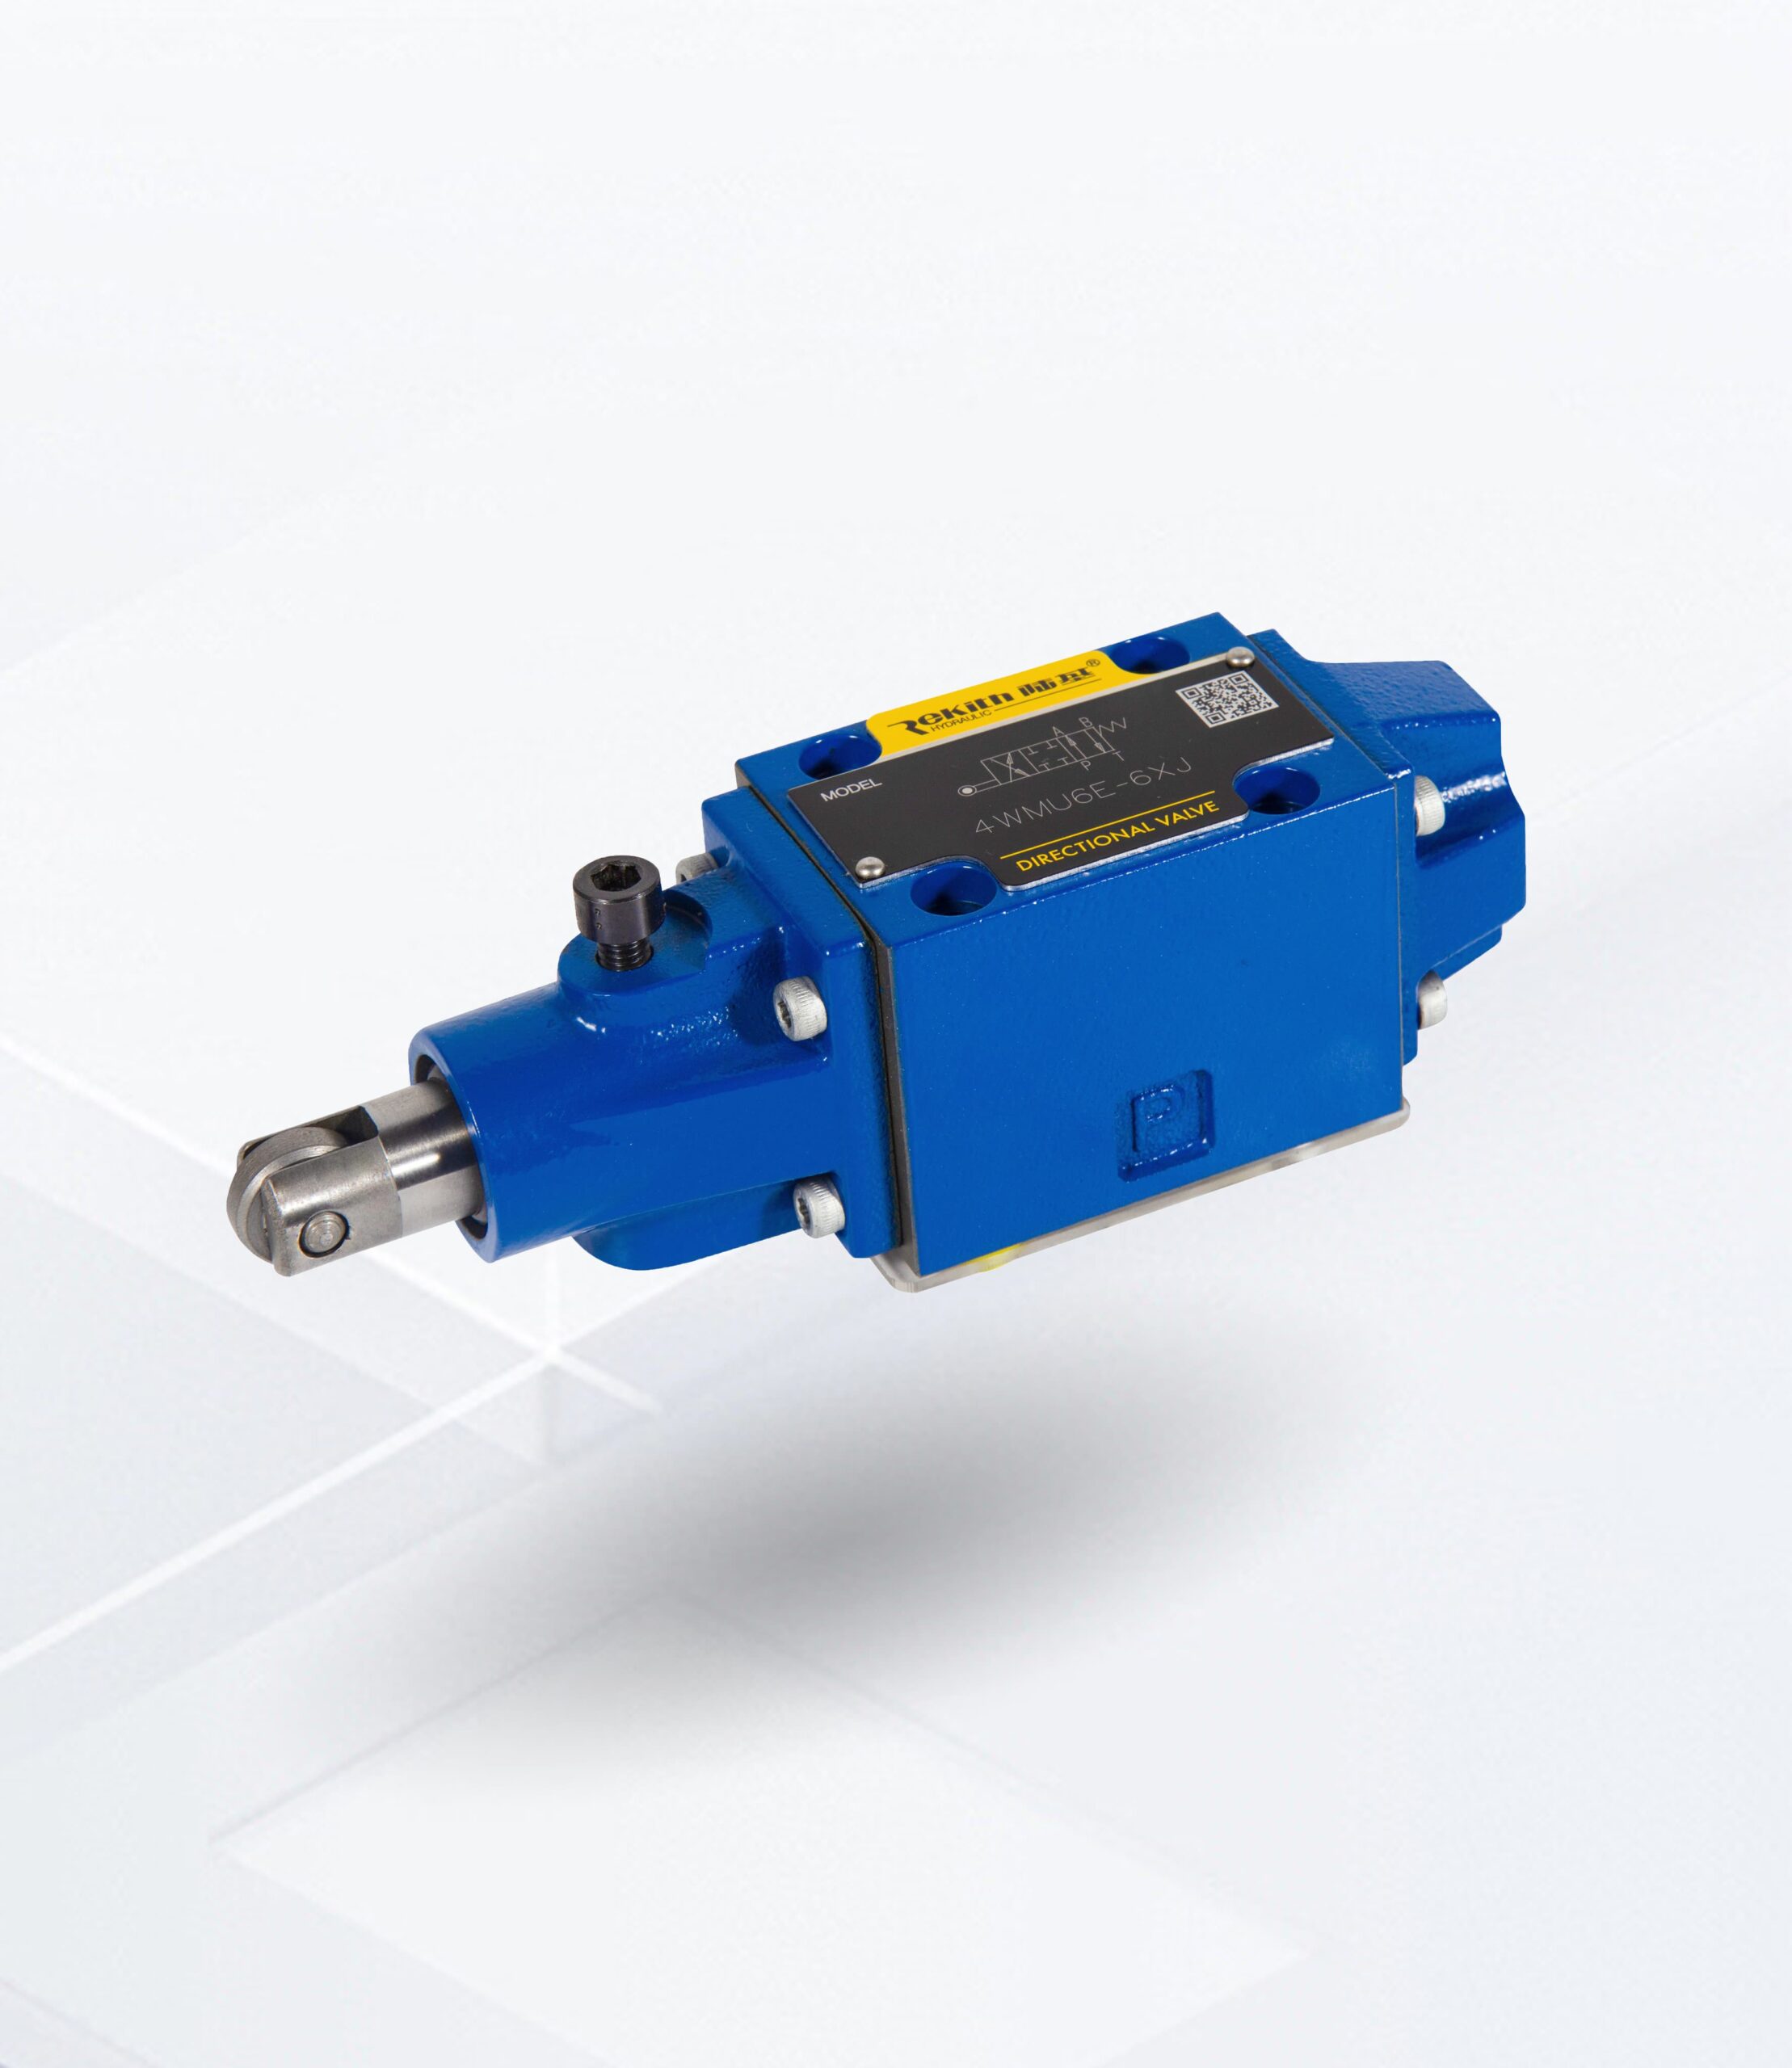
What Is a Hydraulic Pressure Relief Valve?
A hydraulic pressure relief valve protects the system from overpressure by diverting excess flow to tank when pressure reaches a set value. It should not be a “normal operating control valve” in most circuits.
Relief valve vs unloading valve
- Relief valve = limits maximum pressure
- Unloading valve = unloads pump flow intentionally during normal cycles (energy saving)
For common confusion between valve types, see Pressure Relief Valve vs Pressure Reducing Valve.
Quick Diagnostic Reference Table
| Symptôme | Most Likely Cause | Fast Test | Priority |
|---|---|---|---|
| Pressure exceeds set point | Wrong setting / contamination / sticking / wrong test point | Gauge at relief inlet; back off adjuster and observe | HIGH |
| Cannot reach/hold pressure | Internal relief leakage / spring fatigue / pump wear elsewhere | Isolation check; peak pressure verification | HIGH |
| Chattering/squealing | Return back pressure / air / pilot restriction / pulsation | Inspect tank line + pilot orifice | MEDIUM |
| Excessive heat | Continuous relief / undersized valve / wrong circuit logic | IR scan + confirm bypass flow | HIGH |
| Slow actuator response | Relief set too low / internal leakage | Peak pressure test at correct point | MEDIUM |
| Pressure fluctuations | Air, pilot restriction, pump pulsation | Bleed air; inspect damping/orifice | MEDIUM |
⚠️ Safety Precautions
Before troubleshooting
- Lockout/tagout and depressurize to zero
- Wear PPE (eye protection + gloves)
- Use rated test ports/adapters
- Adjust only via an approved test method (avoid improvised work on live lines)
The 3 Most Common Problem Patterns (With Fixes)
1) Pressure Goes Above the Set Point
What you see
- Gauge reads higher than expected
- Spikes, harsh motion, hose stress
Most common causes
- Incorrect setting after maintenance
- Contamination/sticking (poppet/seat or pilot stage)
- Wrong gauge location (reading downstream losses instead of valve inlet pressure)
Fast test
- Put a calibrated gauge at/near the relief inlet (or nearest test port).
- Back off the adjuster slightly and observe: if reading doesn’t change, suspect sticking or measurement error.
Fix
- Recalibrate properly
- Clean/repair/replace seat, poppet, seals (or replace cartridge)
- Improve filtration and flush if contamination repeats
2) Cannot Reach or Maintain Pressure
What you see
- Low force, slow motion
- Pressure drops under load
- Relief valve body is warm/hot during normal operation
Most common causes
- Relief valve bypassing internally (seat wear, debris, seal damage)
- Spring fatigue (lower cracking pressure)
- Undersized valve causing premature opening at higher flow
- Pump wear or actuator leakage (don’t assume relief first)
Fast tests
- Isolation/leak check: confirm whether pressure recovers when the relief bypass path is isolated in a safe test configuration.
- Peak pressure verification: verify actual cracking/peak pressure at the correct test point.
Fix
- Repair/replace valve internals or replace the cartridge
- Replace spring assembly if fatigue is confirmed
- Upsize valve if override is excessive at your peak flow
- If relief is not the culprit, evaluate pump and actuator leakage
3) Relief Valve Chatter (Rapid Open/Close)
What you see
- Squeal/clicking, vibration
- Gauge needle oscillation
Most common causes
- Tank/return line restriction creating back pressure
- Air ingestion/aeration
- Pilot orifice/damping restriction (pilot-operated valves)
- Pump pulsation/resonance
- Setting too close to normal operating pressure (no margin)
Fast test
- Inspect tank line: undersized hose, sharp elbows, clogged cooler/filter, kinks.
- On pilot valves: check pilot orifice/damping passages for contamination.
Fix
- Remove return restrictions and reduce back pressure
- Service pilot stage / restore damping function
- Add pulsation damping if needed (e.g., small accumulator)
- Increase margin between operating pressure and relief setting (within safe limits)
Pressure Override vs Chatter (Don’t Mix Them Up)
- Pressure override: pressure rises above setting as flow increases (often a normal curve characteristic).
- Chatter: unstable oscillation/noise (a real fault—usually damping/back pressure/air related).
Relief Valve Setting (Simple Rule)
Set the relief valve with a reasonable margin above normal operating pressure (often around 10–15% depending on system type), and always within machine/component safety limits. If the relief valve opens during normal operation, the system likely needs a design/logic review—not a higher setting.
6 Common Mistakes
- Adjusting based on a gauge far from the relief valve
- Increasing set pressure to “fix” low force (hides leakage/pump wear)
- Replacing the valve without fixing contamination source
- Ignoring return-line back pressure and routing
- Confusing override with chatter
- Not documenting final settings and test conditions
Minimal Preventive Maintenance
- Verify relief setting periodically with a calibrated gauge
- Maintain oil cleanliness and filter health
- If the relief valve runs hot in normal operation, investigate continuous bypass immediately
Why Rekith Hydraulics
At Rekith Hydraulics, our relief valves are designed for real-world duty—vibration, contamination, and thermal cycling—with manufacturing control for stable cracking behavior and repeatable pressure performance. We also support selection and troubleshooting so issues don’t repeat.
Need help diagnosing a stubborn case?
Share your system type (fixed pump vs LS/compensated), target pressure, pump flow, oil viscosity range, and symptoms—we’ll help you narrow the root cause quickly.