소개
When your hydraulic system shows overpressure, pressure loss, chatter, or abnormal heat, don’t rush to replace the 릴리프 밸브. In real machines, most issues come from wrong settings, contamination, return-line back pressure, air ingestion, or measurement errors—not catastrophic valve failure.
This guide complements the adjustment procedure in 유압 릴리프 밸브 설정 및 조정 방법 and helps you determine whether adjustment is actually the correct fix.
About This Guide: Written by hydraulic engineers with 15+ years of field experience in industrial and mobile equipment. Safety principles are aligned with ISO 4414, and test concepts follow widely used relief valve verification practices.
🔧 Key Takeaways
- Most “relief valve failures” are fixable: setting error, contamination, wear, or return-line restrictions.
- Diagnose at the right test point: a gauge far from the valve can mislead you.
- Heat means energy loss: a hot relief valve often indicates continuous bypass flow.
- Stability matters: chatter usually points to back pressure, air, pilot restriction, or pulsation.
30-Second Quick Triage (Start Here)
👉 If incorrect pressure setting is suspected, follow the safe procedure in How to Adjust a Pressure Relief Valve before replacing components.

1) Pressure exceeds set point
→ Verify gauge location (near relief inlet) + gauge accuracy → then suspect sticking/contamination.
2) Cannot reach or maintain pressure
→ Run an isolation / leakage check to confirm whether the valve is bypassing.
3) Chatter / squeal / needle oscillation
→ Check tank line restrictions/back pressure, air ingestion, and (pilot valves) pilot orifice condition.
4) Excessive heat
→ Confirm continuous relieving (bypass flow to tank under load/idle) and fix the cause.
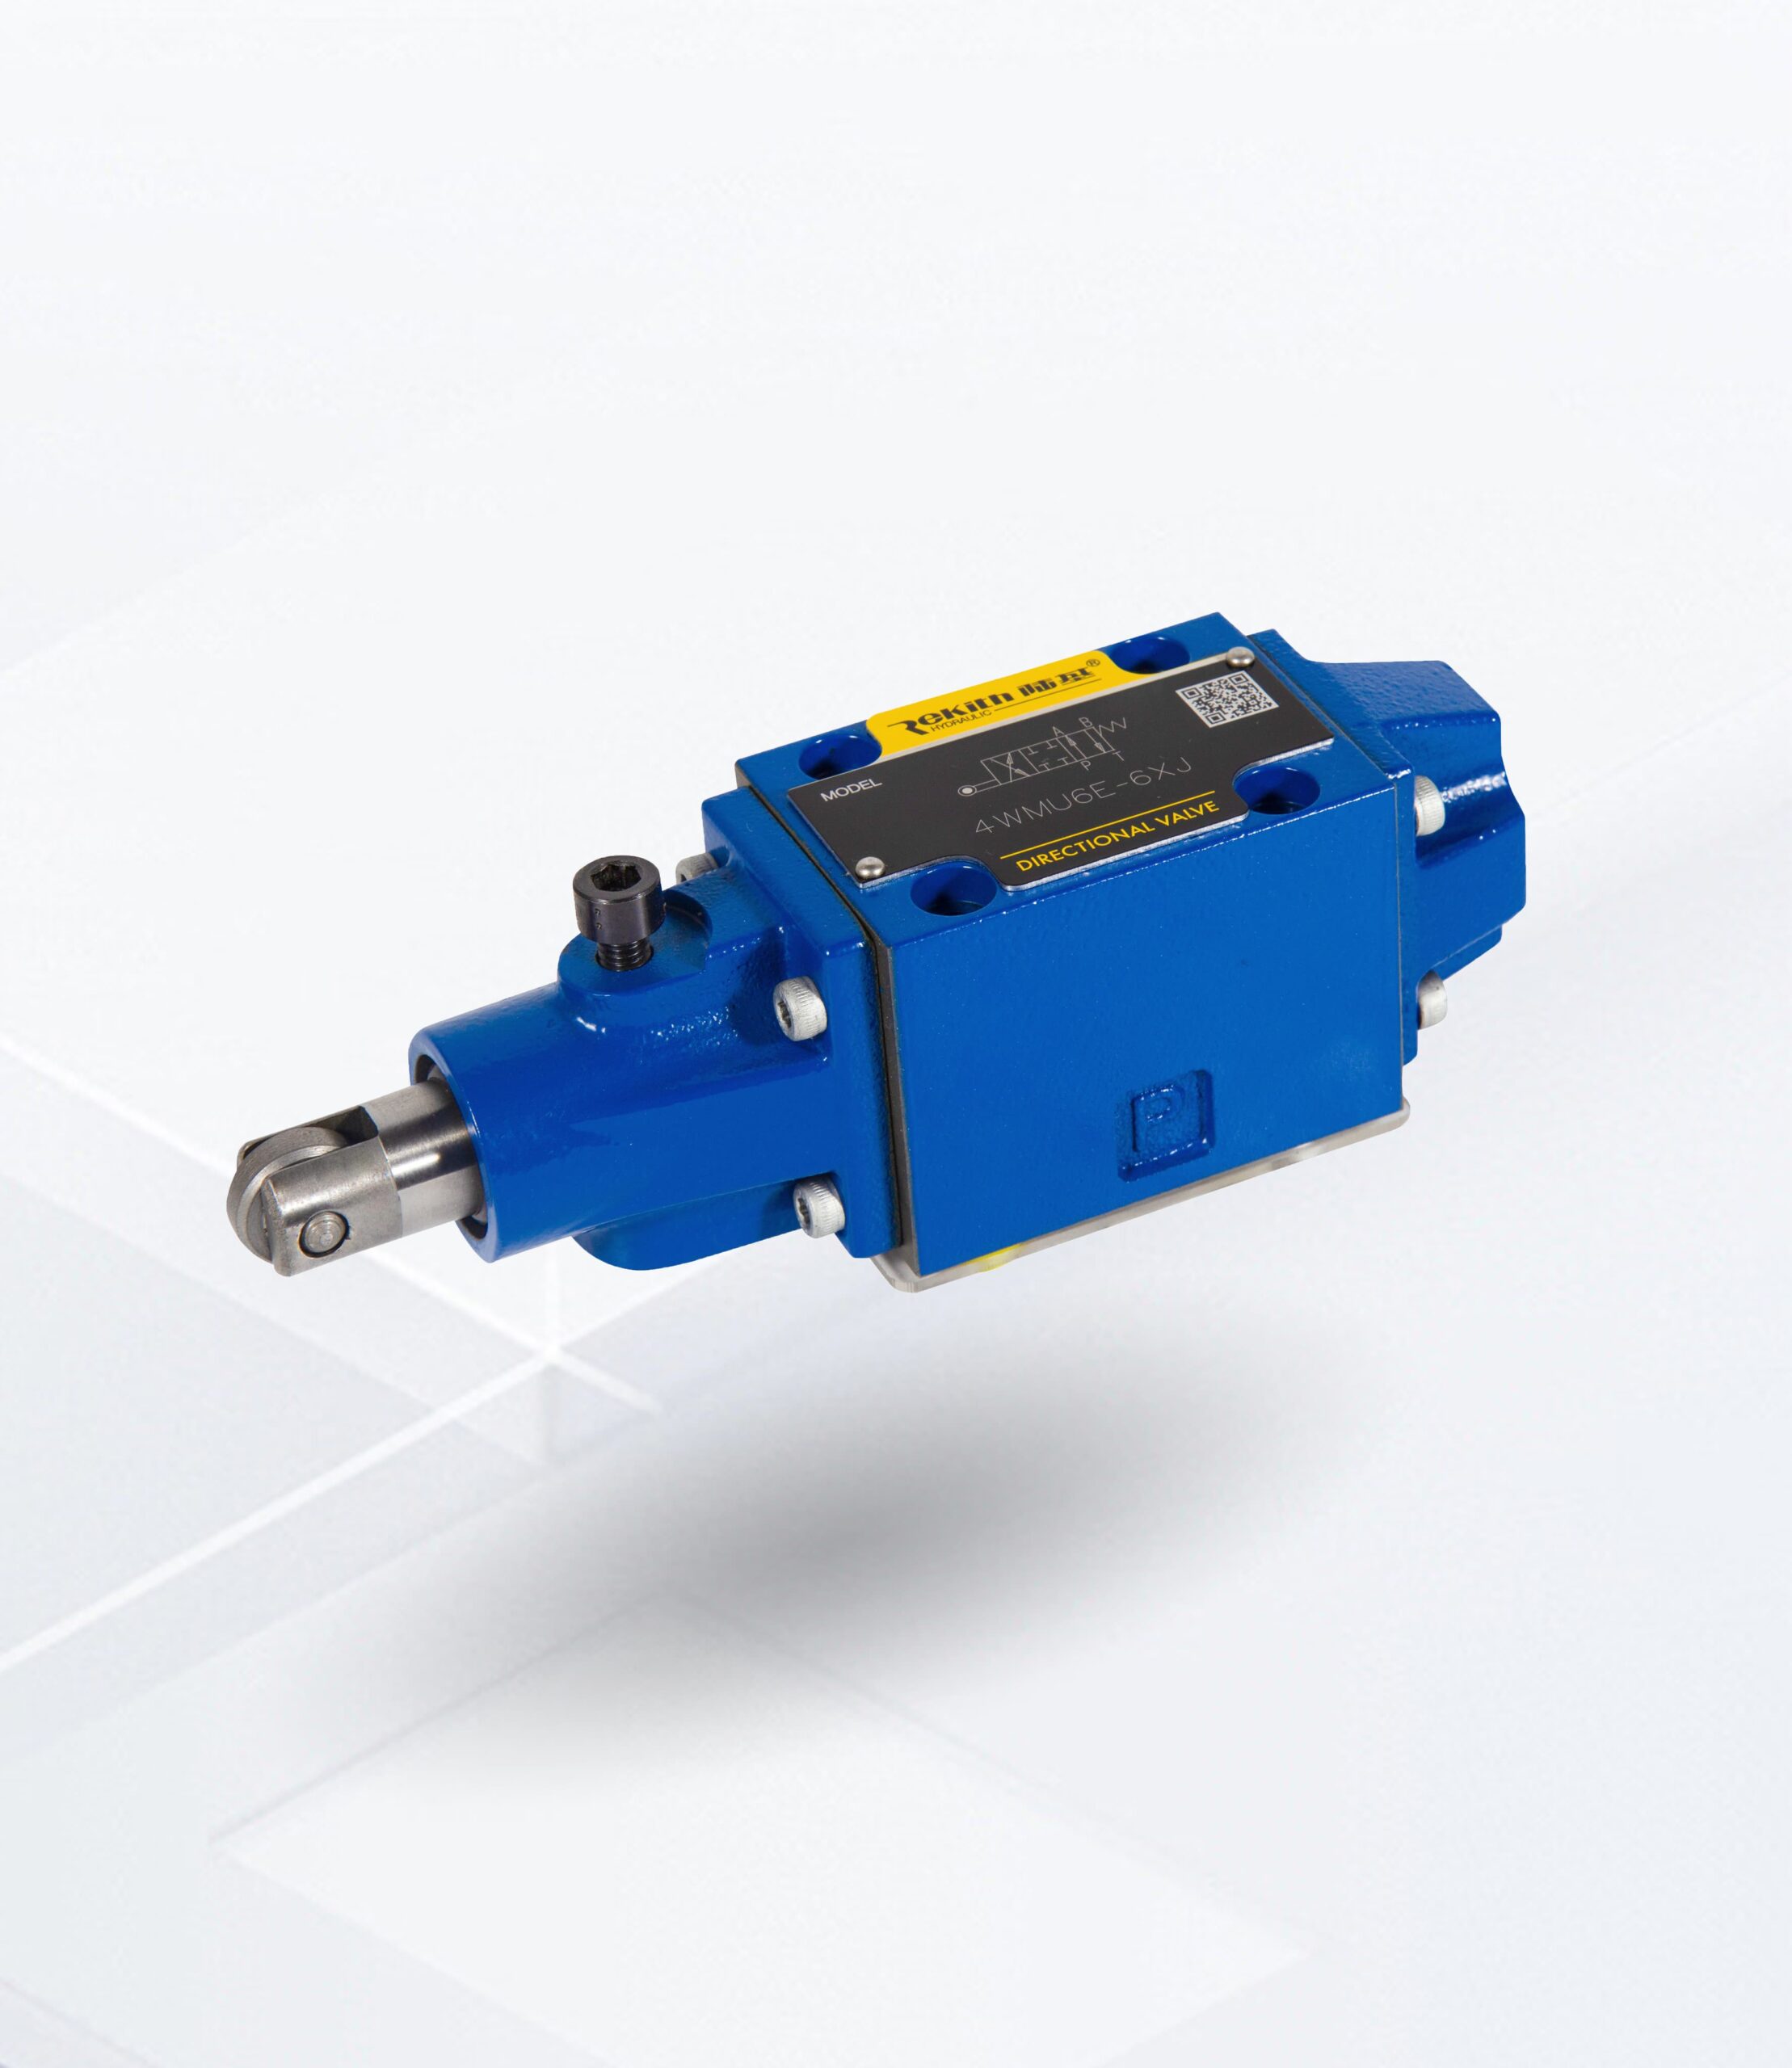
What Is a Hydraulic Pressure Relief Valve?
A hydraulic pressure relief valve protects the system from overpressure by diverting excess flow to tank when pressure reaches a set value. It should not be a “normal operating control valve” in most circuits.
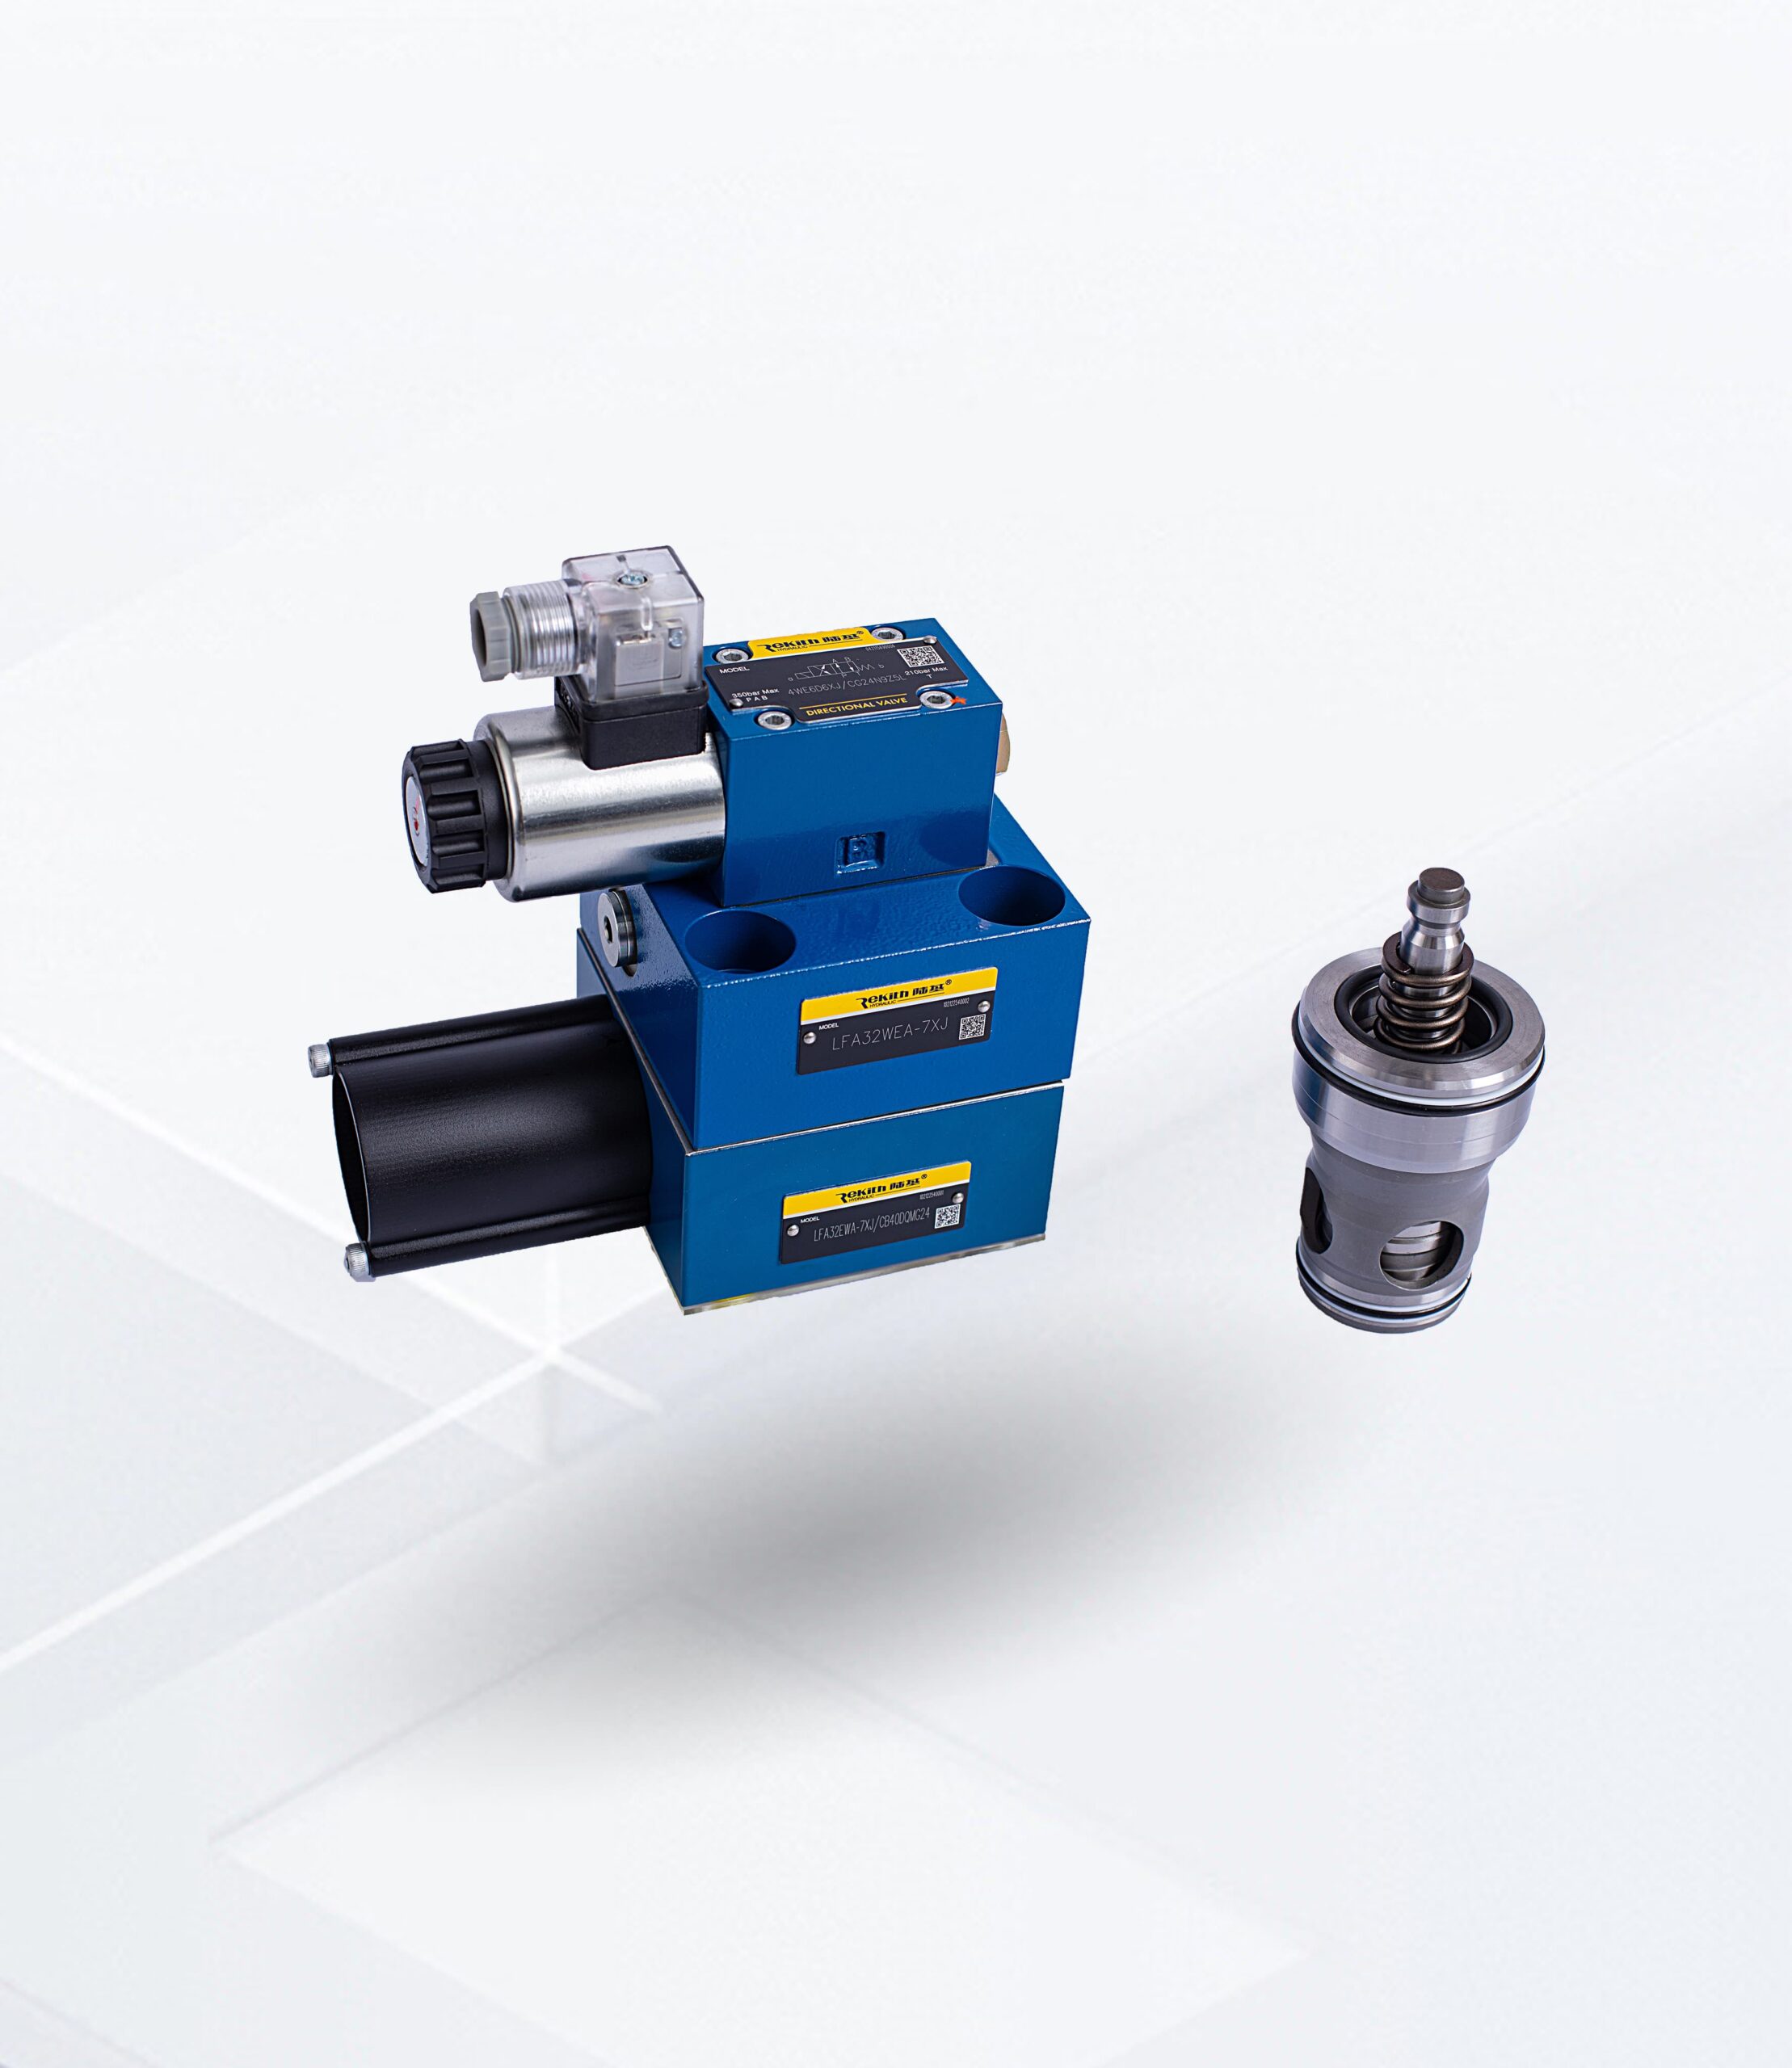
Relief valve vs unloading valve
- Relief valve = limits maximum pressure
- Unloading valve = unloads pump flow intentionally during normal cycles (energy saving)
For common confusion between valve types, see Pressure Relief Valve vs Pressure Reducing Valve.
Quick Diagnostic Reference Table
| 증상 | Most Likely Cause | Fast Test | Priority |
|---|---|---|---|
| Pressure exceeds set point | Wrong setting / contamination / sticking / wrong test point | Gauge at relief inlet; back off adjuster and observe | HIGH |
| Cannot reach/hold pressure | Internal relief leakage / spring fatigue / pump wear elsewhere | Isolation check; peak pressure verification | HIGH |
| Chattering/squealing | Return back pressure / air / pilot restriction / pulsation | Inspect tank line + pilot orifice | MEDIUM |
| Excessive heat | Continuous relief / undersized valve / wrong circuit logic | IR scan + confirm bypass flow | HIGH |
| Slow actuator response | Relief set too low / internal leakage | Peak pressure test at correct point | MEDIUM |
| Pressure fluctuations | Air, pilot restriction, pump pulsation | Bleed air; inspect damping/orifice | MEDIUM |
⚠️ Safety Precautions
Before troubleshooting
- Lockout/tagout and depressurize to zero
- Wear PPE (eye protection + gloves)
- Use rated test ports/adapters
- Adjust only via an approved test method (avoid improvised work on live lines)
The 3 Most Common Problem Patterns (With Fixes)
1) Pressure Goes Above the Set Point
What you see
- Gauge reads higher than expected
- Spikes, harsh motion, hose stress
Most common causes
- Incorrect setting after maintenance
- Contamination/sticking (poppet/seat or pilot stage)
- Wrong gauge location (reading downstream losses instead of valve inlet pressure)
Fast test
- Put a calibrated gauge at/near the relief inlet (or nearest test port).
- Back off the adjuster slightly and observe: if reading doesn’t change, suspect sticking or measurement error.
Fix
- Recalibrate properly
- Clean/repair/replace seat, poppet, seals (or replace cartridge)
- Improve filtration and flush if contamination repeats
2) Cannot Reach or Maintain Pressure
What you see
- Low force, slow motion
- Pressure drops under load
- Relief valve body is warm/hot during normal operation
Most common causes
- Relief valve bypassing internally (seat wear, debris, seal damage)
- Spring fatigue (lower cracking pressure)
- Undersized valve causing premature opening at higher flow
- Pump wear or actuator leakage (don’t assume relief first)
Fast tests
- Isolation/leak check: confirm whether pressure recovers when the relief bypass path is isolated in a safe test configuration.
- Peak pressure verification: verify actual cracking/peak pressure at the correct test point.
Fix
- Repair/replace valve internals or replace the cartridge
- Replace spring assembly if fatigue is confirmed
- Upsize valve if override is excessive at your peak flow
- If relief is not the culprit, evaluate pump and actuator leakage
3) Relief Valve Chatter (Rapid Open/Close)
What you see
- Squeal/clicking, vibration
- Gauge needle oscillation
Most common causes
- Tank/return line restriction creating back pressure
- Air ingestion/aeration
- Pilot orifice/damping restriction (pilot-operated valves)
- Pump pulsation/resonance
- Setting too close to normal operating pressure (no margin)
Fast test
- Inspect tank line: undersized hose, sharp elbows, clogged cooler/filter, kinks.
- On pilot valves: check pilot orifice/damping passages for contamination.
Fix
- Remove return restrictions and reduce back pressure
- Service pilot stage / restore damping function
- Add pulsation damping if needed (e.g., small accumulator)
- Increase margin between operating pressure and relief setting (within safe limits)
Pressure Override vs Chatter (Don’t Mix Them Up)
- Pressure override: pressure rises above setting as flow increases (often a normal curve characteristic).
- Chatter: unstable oscillation/noise (a real fault—usually damping/back pressure/air related).
Relief Valve Setting (Simple Rule)
Set the relief valve with a reasonable margin above normal operating pressure (often around 10–15% depending on system type), and always within machine/component safety limits. If the relief valve opens during normal operation, the system likely needs a design/logic review—not a higher setting.
6 Common Mistakes
- Adjusting based on a gauge far from the relief valve
- Increasing set pressure to “fix” low force (hides leakage/pump wear)
- Replacing the valve without fixing contamination source
- Ignoring return-line back pressure and routing
- Confusing override with chatter
- Not documenting final settings and test conditions
Minimal Preventive Maintenance
- Verify relief setting periodically with a calibrated gauge
- Maintain oil cleanliness and filter health
- If the relief valve runs hot in normal operation, investigate continuous bypass immediately
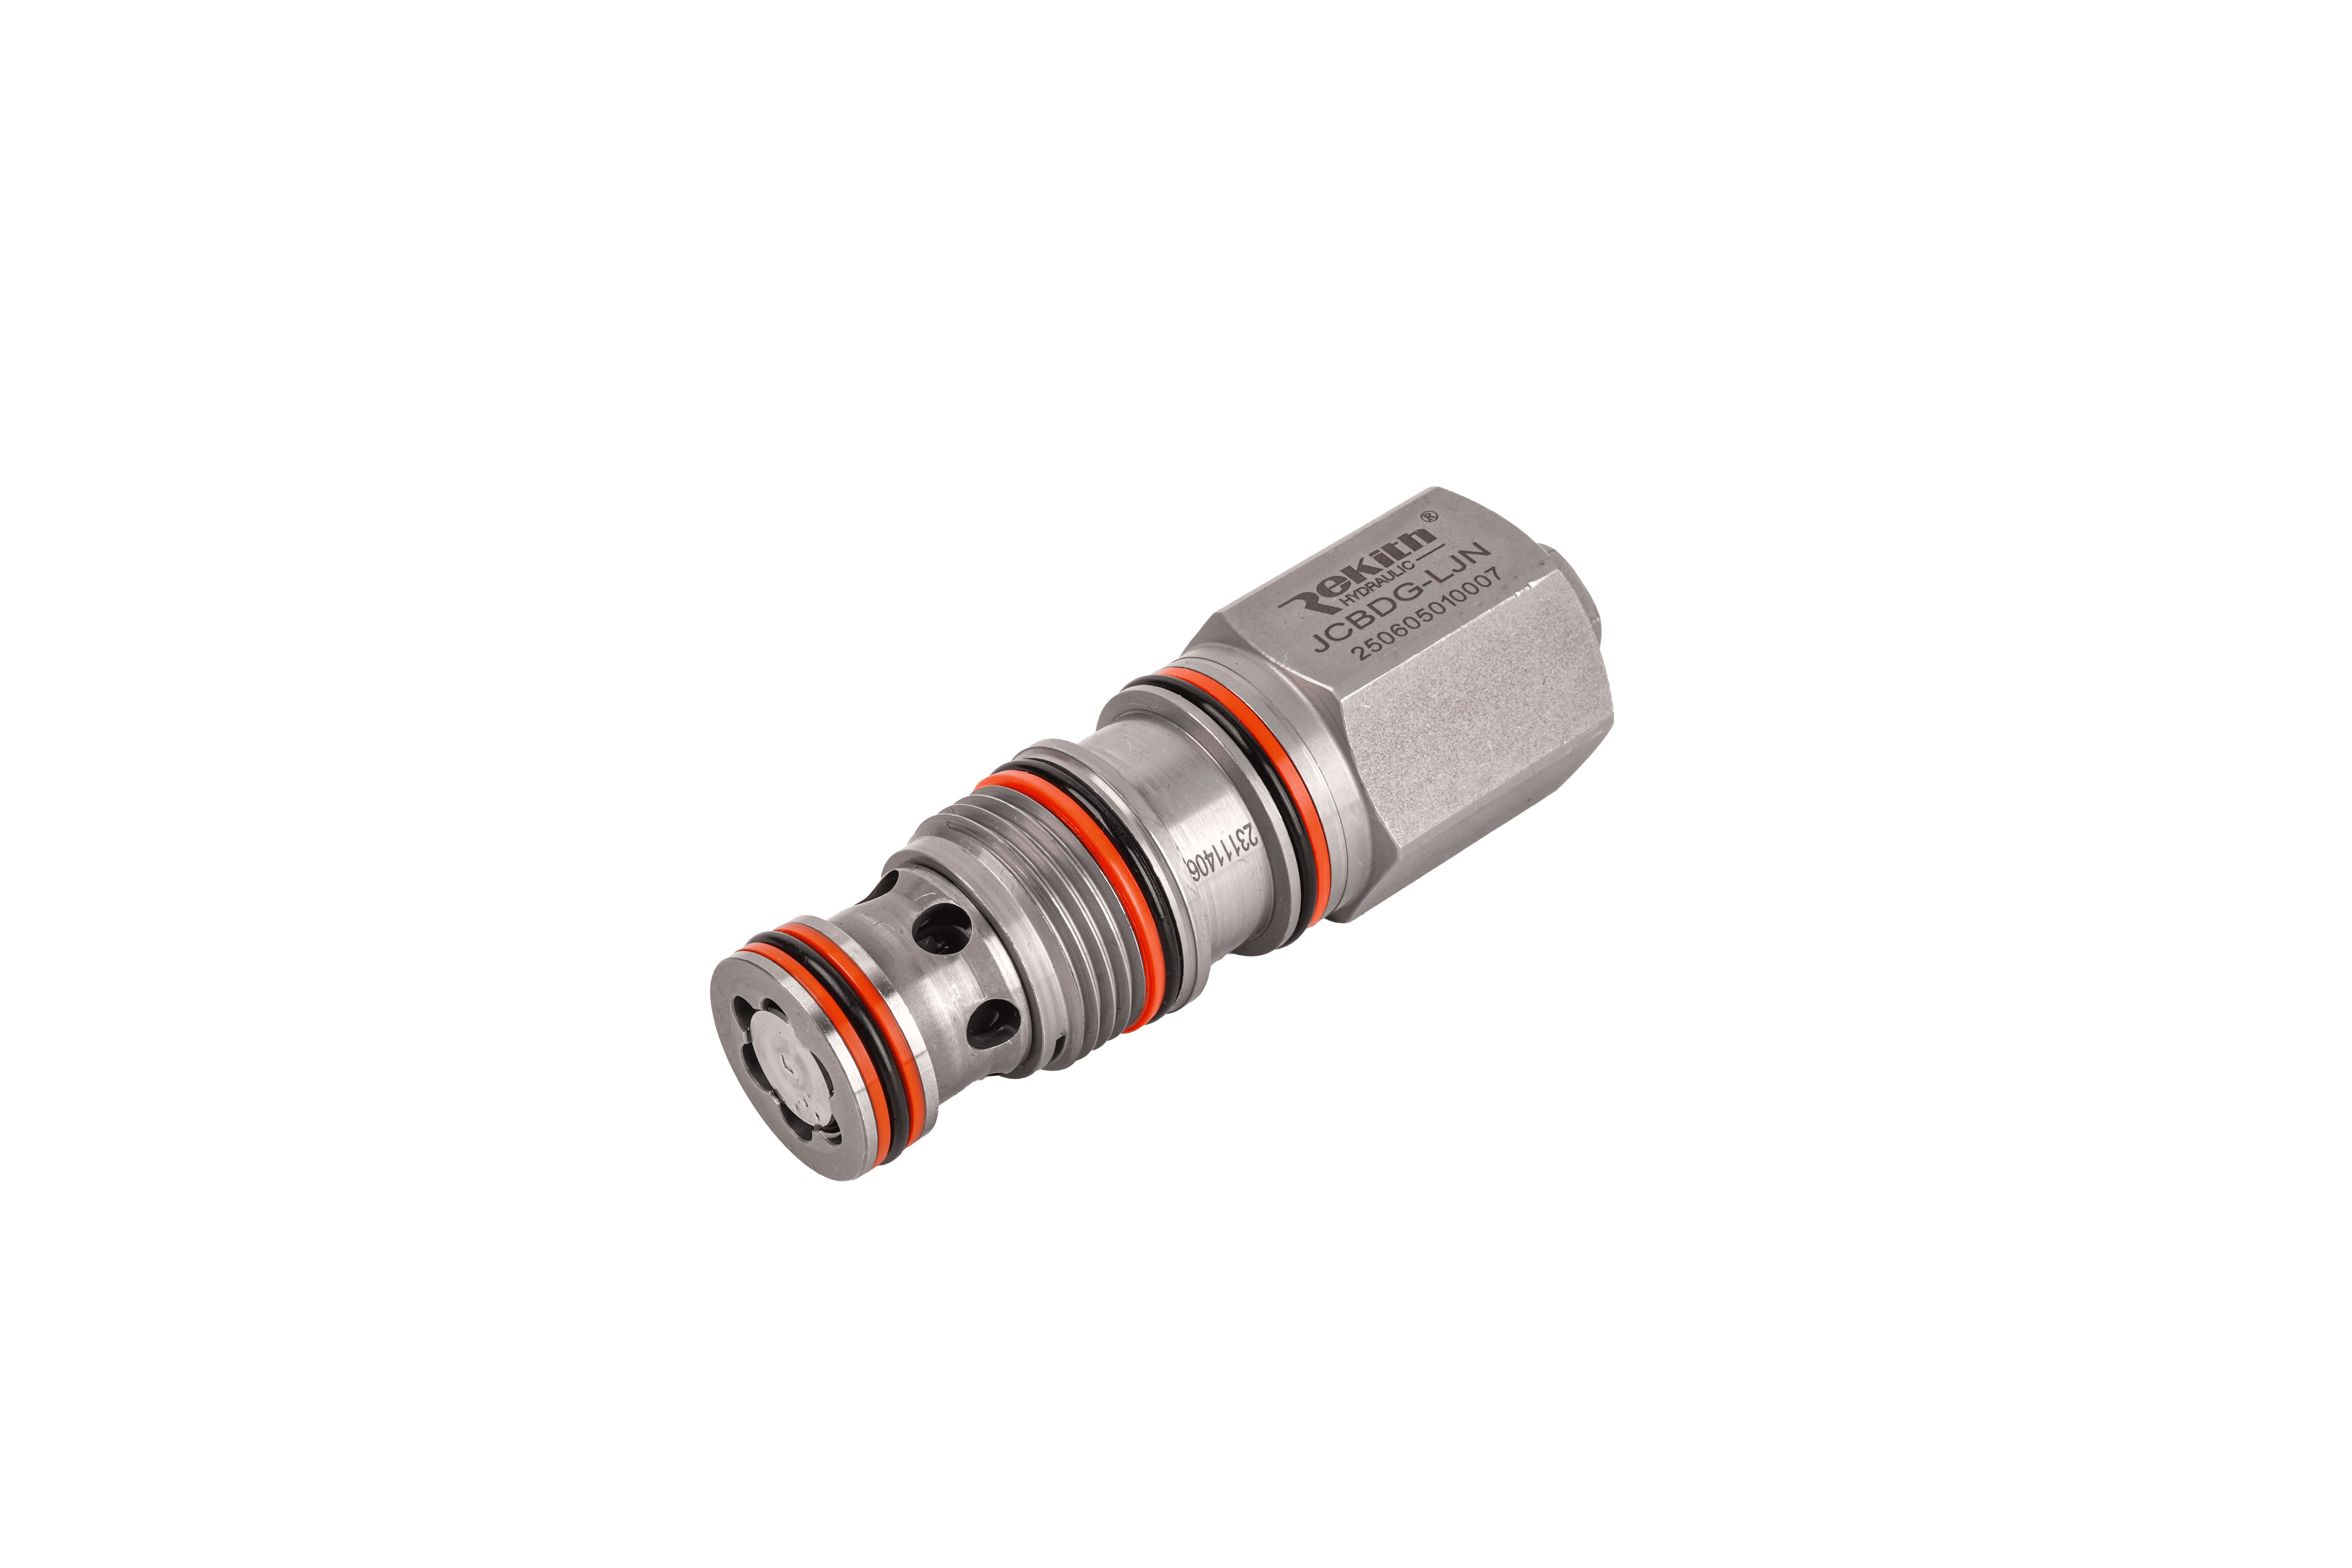
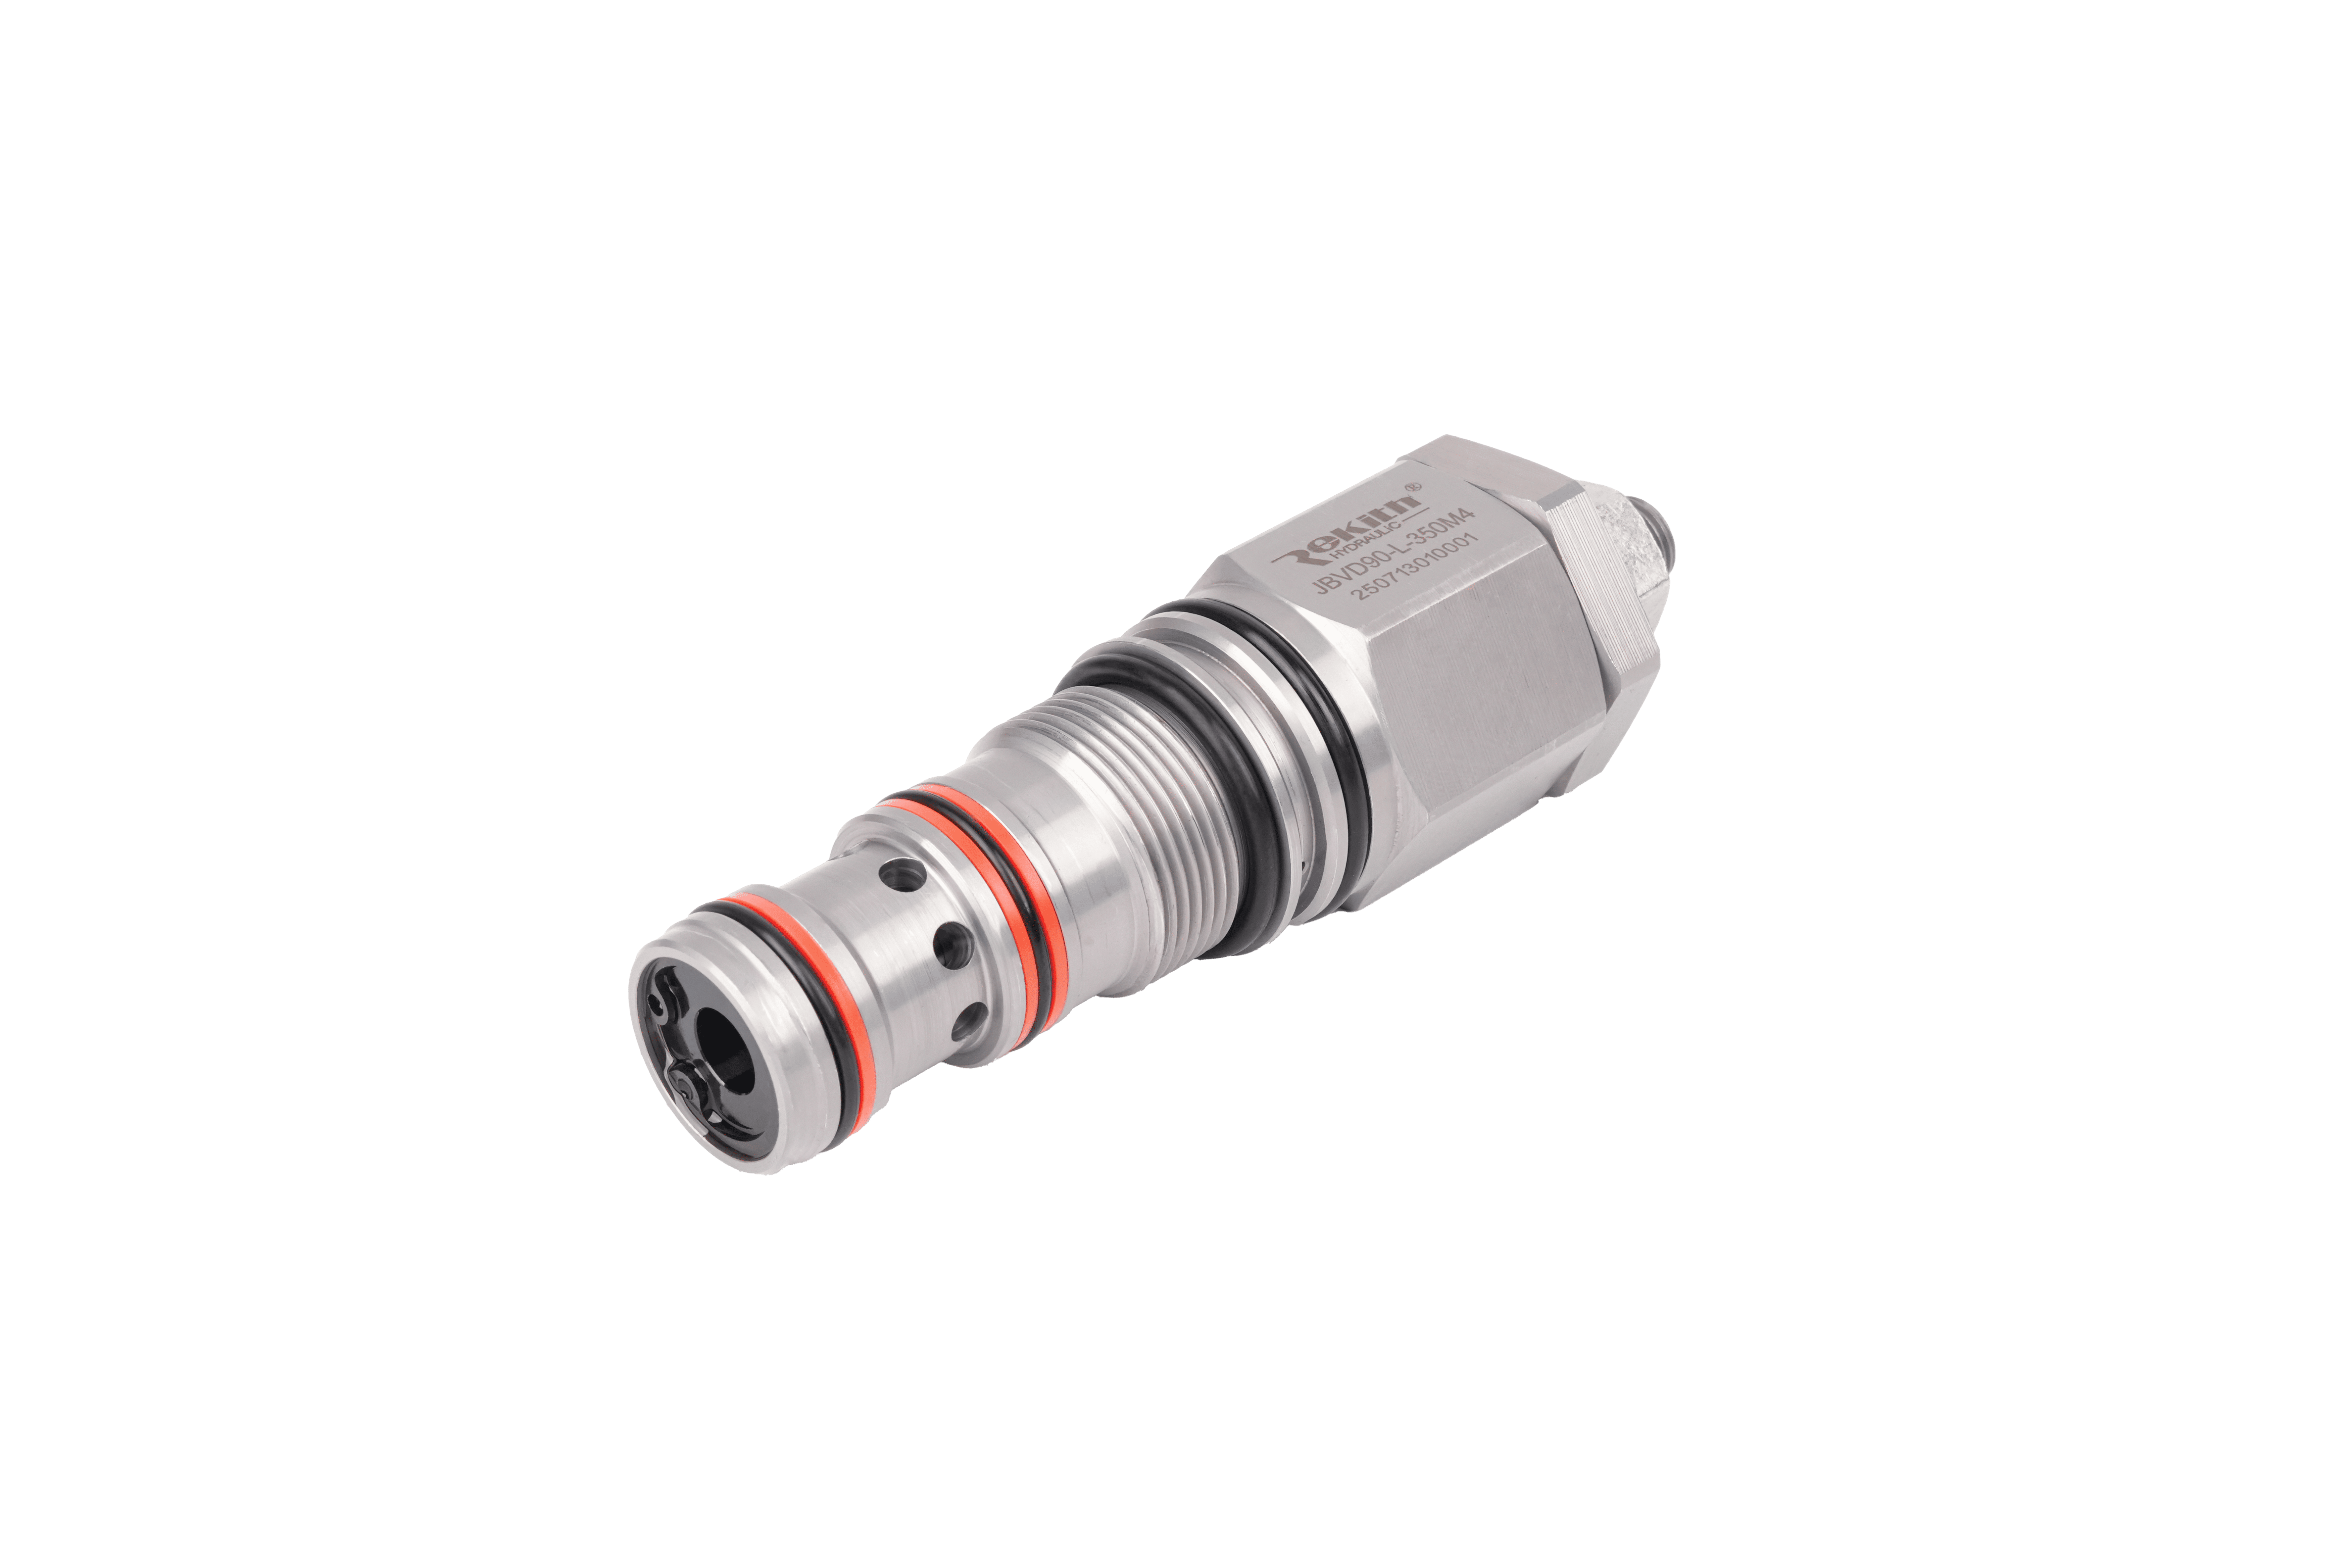
Why Rekith Hydraulics
At Rekith Hydraulics, our relief valves are designed for real-world duty—vibration, contamination, and thermal cycling—with manufacturing control for stable cracking behavior and repeatable pressure performance. We also support selection and troubleshooting so issues don’t repeat.
Need help diagnosing a stubborn case?
Share your system type (fixed pump vs LS/compensated), target pressure, pump flow, oil viscosity range, and symptoms—we’ll help you narrow the root cause quickly.